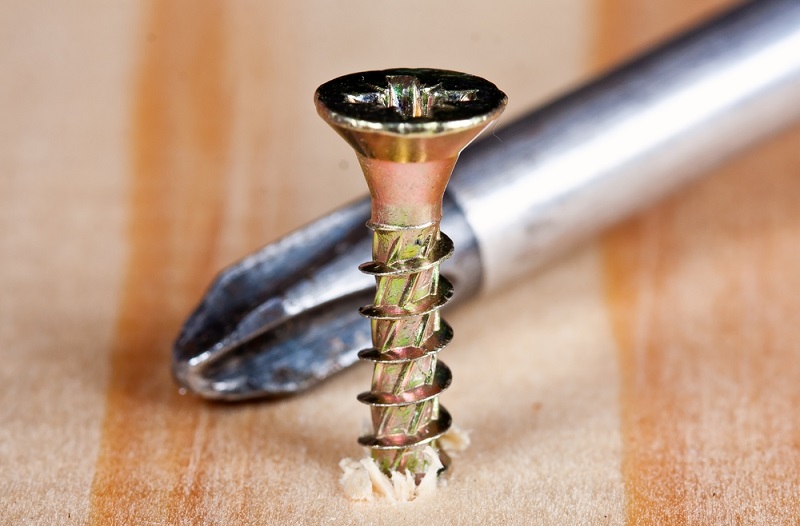
Imagine you’re tightening a screw, and instead of a snug fit, you’re greeted with a frustrating wobble. The culprit? A loose screw hole. But fret not, fellow DIY enthusiast! We’re about to explore the art of rejuvenating those tired, worn-out screw holes and giving them a new lease on life.
Understanding the Woes of Wobbly Screw Holes
Before diving into solutions, let’s unravel the reasons behind those troublesome screw holes:
**1. Wear and Tear: Over time, frequent use can cause wood fibers around the screw hole to break down, resulting in a loose grip.
**2. Changing Temperatures: Wood expands and contracts with temperature variations, potentially leading to a loosening of screws over time.
**3. Incorrect Installation: A common cause—screws might have been driven into the hole without proper pilot holes or clearance holes.
**4. Moisture Damage: Exposure to moisture can weaken the wood, compromising its ability to hold screws tightly.
**5. Material Mismatch: Using screws made for a different material can result in a poor fit and subsequent instability.
Tools and Tricks: Tackling Loose Screw Holes Head-On
Now that we’ve identified the adversaries, let’s equip ourselves with the tools and techniques to restore the strength of those weary screw holes:
**1. Toothpick & Glue Solution: Inserting toothpicks or wooden dowels into the loose hole, coated with wood glue, can rebuild and reinforce the grip.
**2. Wood Filler Wonder: Apply wood filler to the loose hole, creating a solid foundation for the screw. Once dry, drill a new pilot hole.
**3. Bigger and Better Screw: Opting for a larger screw can help grip fresh wood and provide a sturdier connection.
**4. Use a Longer Screw: If the screw isn’t biting well, a longer screw can delve deeper into the material, enhancing stability.
**5. Insert a Golf Tee: An unconventional yet effective method involves inserting a wooden golf tee into the hole, cutting off the excess, and then driving the screw into the tee.
Pro Tips for Tighter Screw Holes
Let’s delve into some advanced techniques to take your screw hole revival skills to the next level:
**1. Wooden Plugs: Replace the damaged section with a wooden plug, creating a seamless and robust fix.
**2. Epoxy Resin Reinforcement: Mixing epoxy resin with wood dust and filling the hole provides a durable and long-lasting solution.
**3. Match the Screw to the Material: Ensure your screws are compatible with the material you’re working with, reducing the risk of future loosening.
**4. Preventive Measures: Apply a wood hardener before filling the hole to strengthen the surrounding wood fibers.
FAQs – Unraveling the Mysteries of Tightening Screw Holes:
Q: Can I use regular glue instead of wood glue for toothpick reinforcement?
A: While regular glue may work, wood glue is designed for woodworking applications and provides a stronger bond.
Q: Is it necessary to wait for wood filler to dry completely before drilling a new hole?
A: Yes, allowing the wood filler to fully cure ensures a solid foundation for the new screw hole.
Q: Can I use metal screws in wood holes?
A: While possible, it’s recommended to use screws specifically designed for wood to ensure a proper fit and longevity.
Q: How deep should a pilot hole be?
A: The depth of a pilot hole should be slightly shorter than the length of the screw being used.
Q: Can I reuse the same hole after using wood filler?
A: It’s best to drill a new hole after using wood filler to ensure a secure and stable connection.
Conclusion: Transforming Loose into Locked and Loaded
Armed with these rejuvenation techniques, you’re now ready to rescue those loose screw holes from the brink of ineffectiveness. Embrace the challenge, turn frustration into fascination, and let your DIY endeavors thrive!

